Almost Showtime!

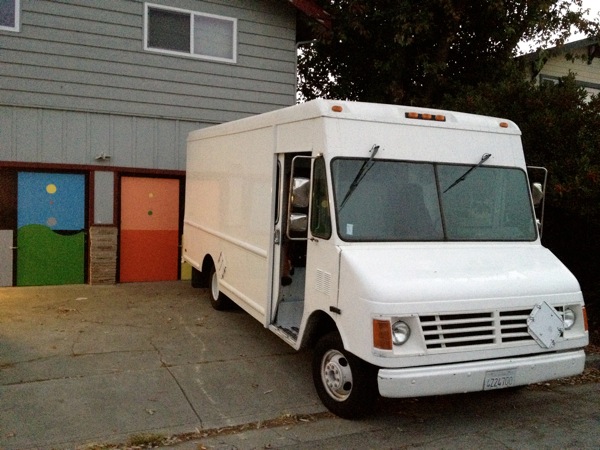
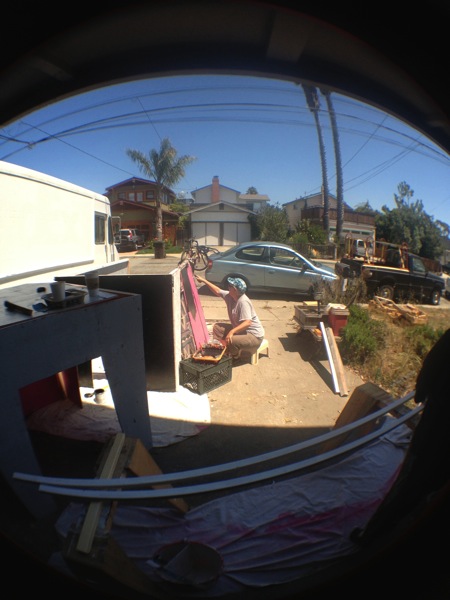
The Sunrise Line art installation, and the Ominomobile converted step van, are both coming right along!

IMG 3187

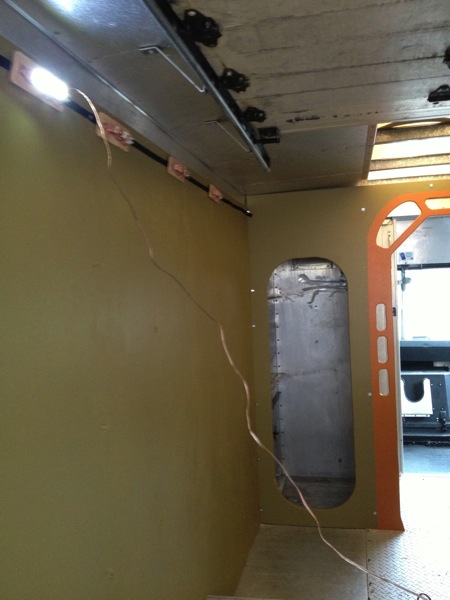
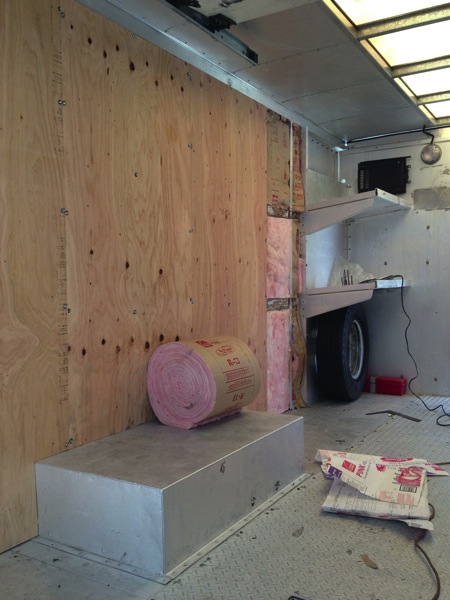
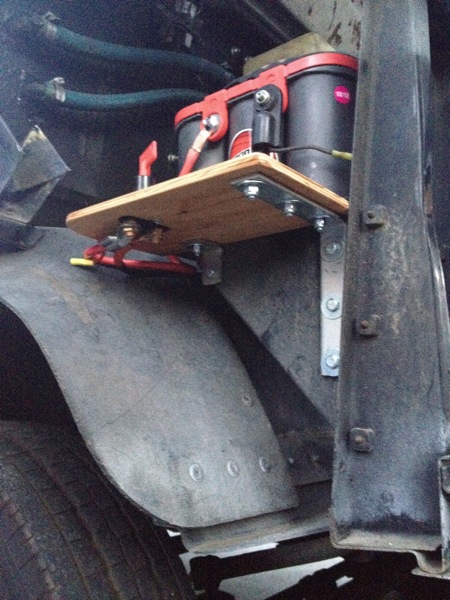
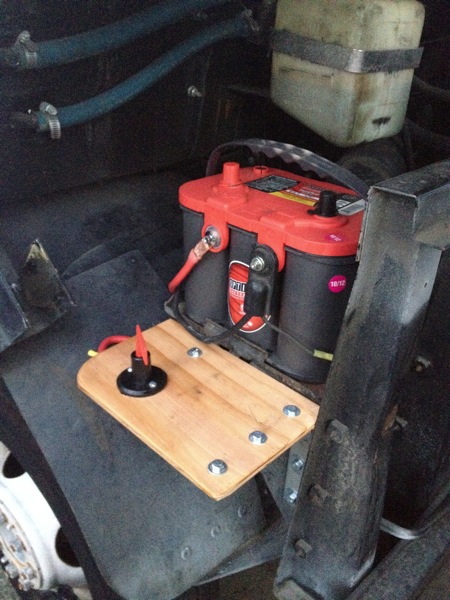
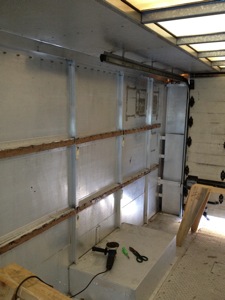
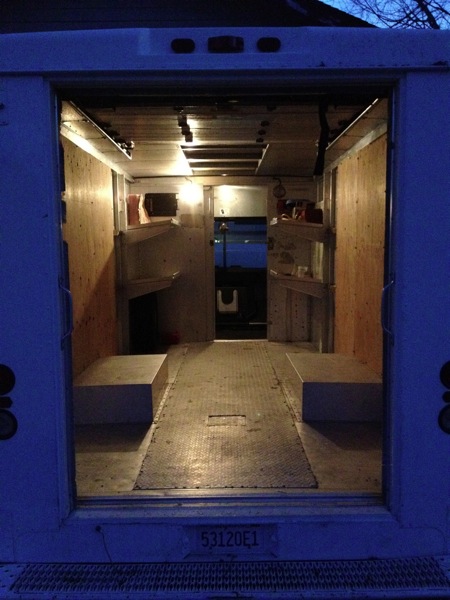
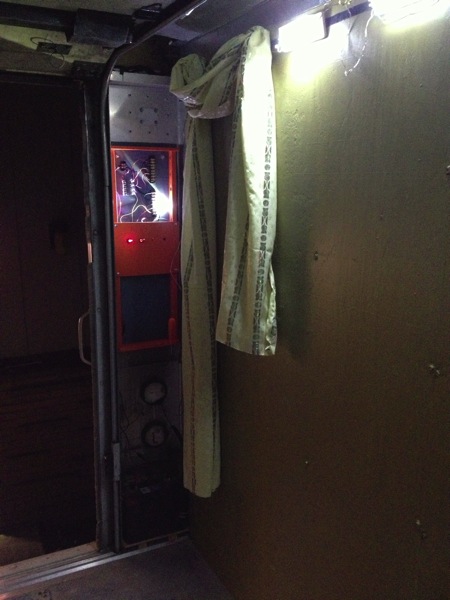
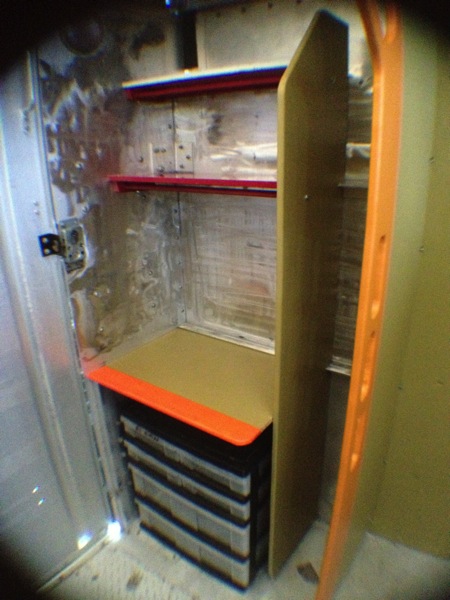
Electrical panel to be tucked into rear port signal bay.
IMG 3191

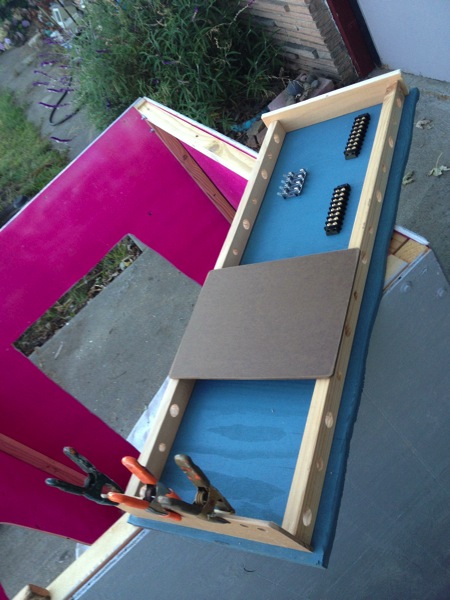
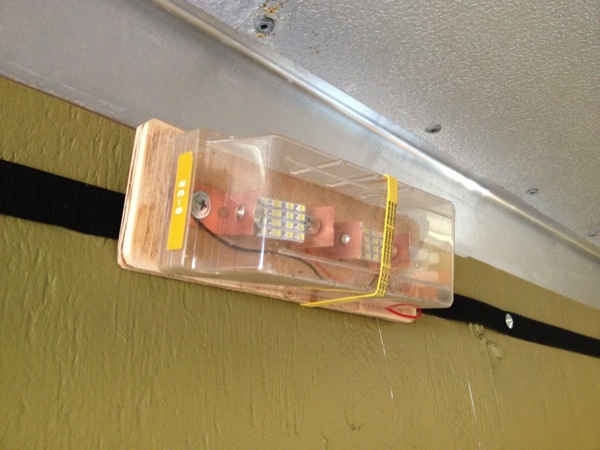
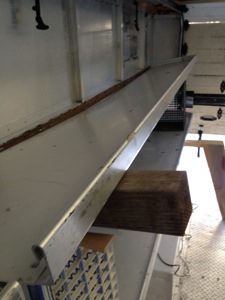
“Track Lighting” using velcro, for easy positioning. Each lamp is a bit of wood, plumbers tape (copper strip) bent to hold 12v automotive lamps, and a parts-bin drawer to cover it. Held with rubber band.
IMG 3193

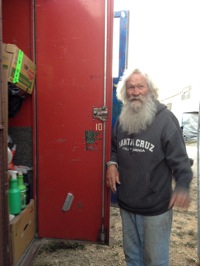
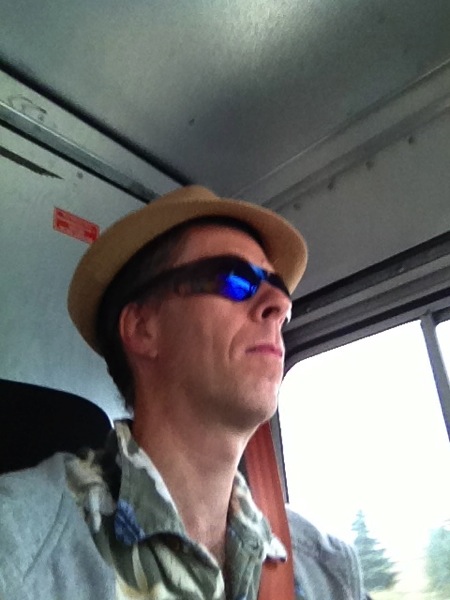
I spent the night in it at my workplace parking lot.
IMG 3195 IMG 3199

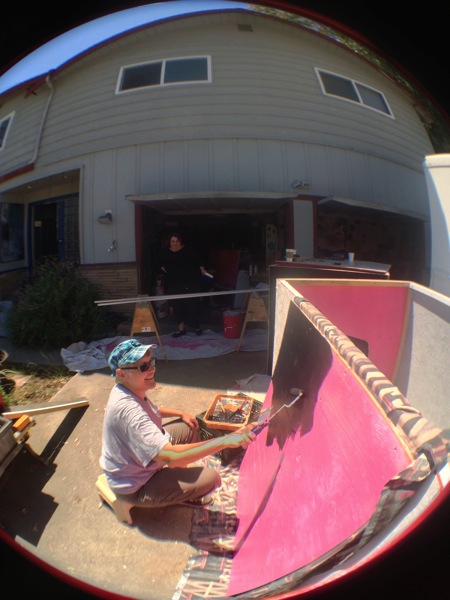
Deb and Carrie painting the Sunrise Line installation.
IMG 3218 IMG 3222

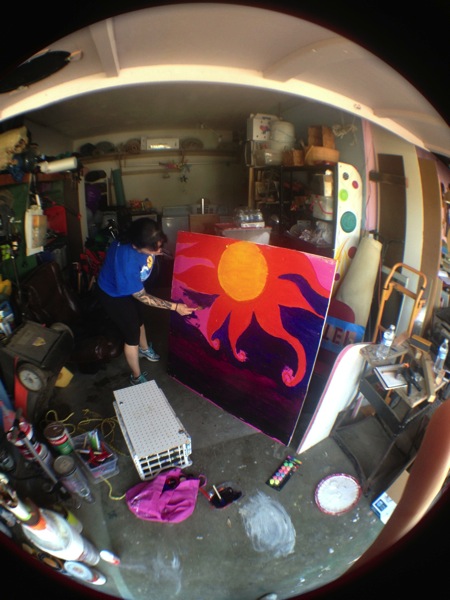
Briya creating an interior mural, of your eponymous soul trying to rise from this Earth.
IMG 3223

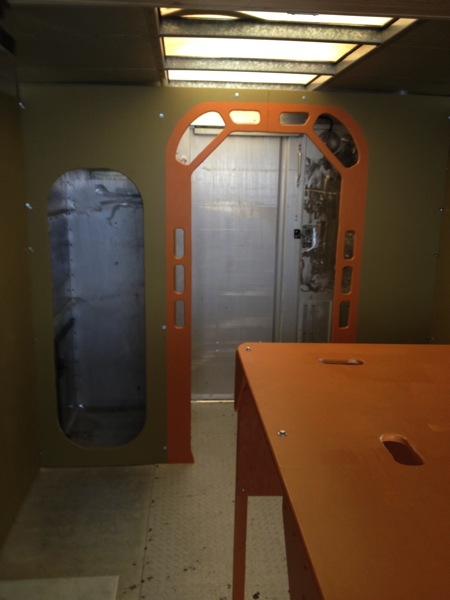
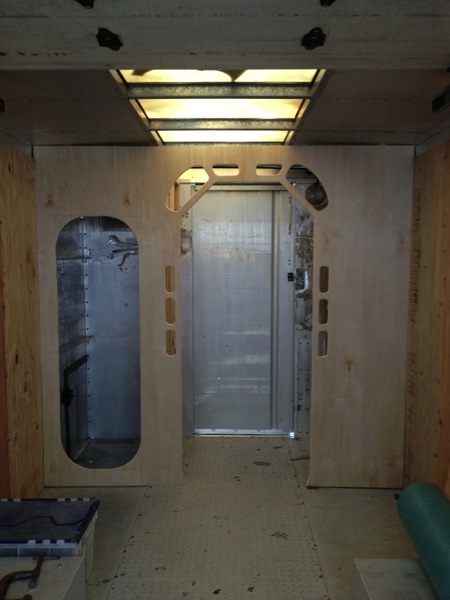
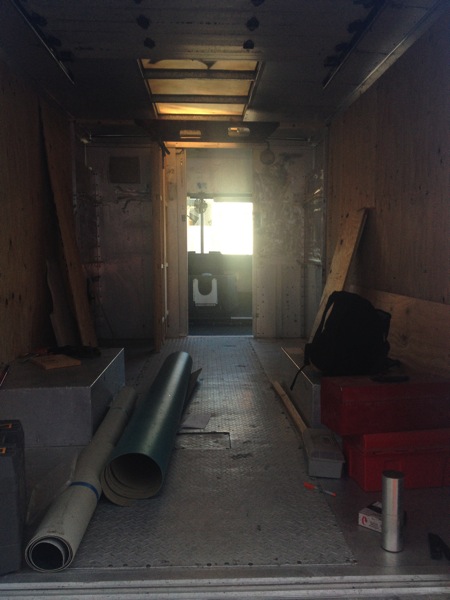
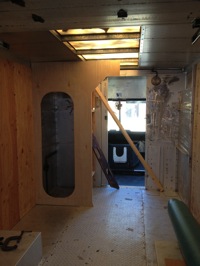
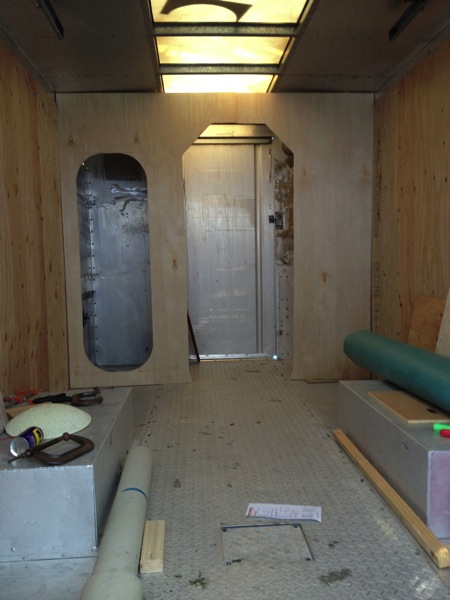
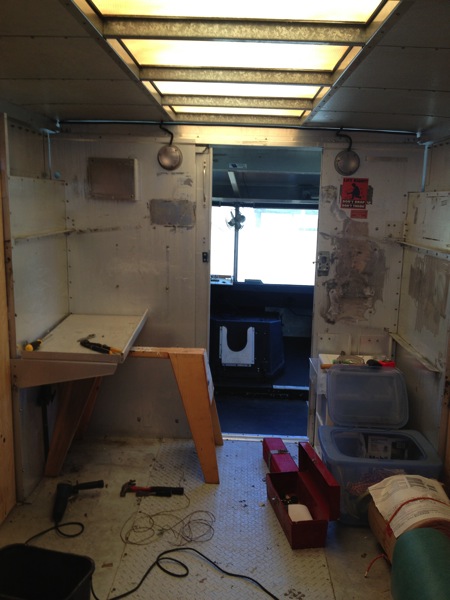
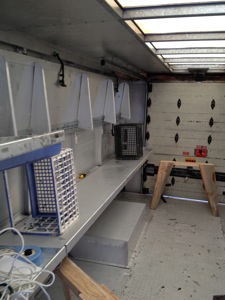
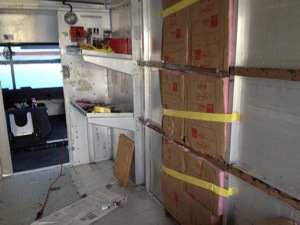
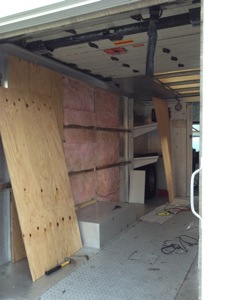
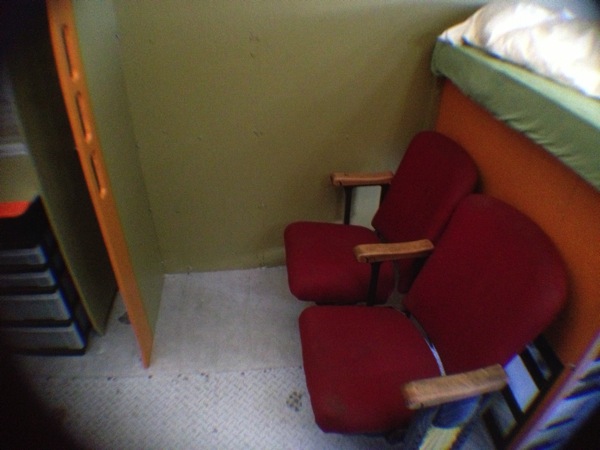
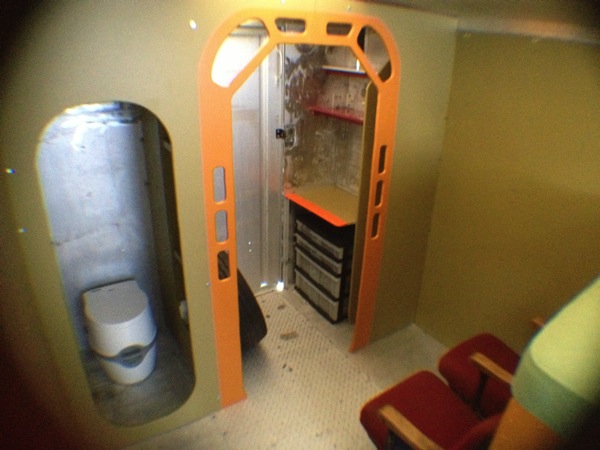
Two seats from the old Santa Cruz Sash Mill Theatre, a tiny kitchen/workshop area, and the privy (Thetford chemical toilet) bolted down.
IMG 3238
IMG 3237
IMG 3236

Well, that’s the last few weeks of fun & pictures!

This is the best it will ever look. Soon: permanent playafication.

Bulkheads installed!

IMG 3168

The bulkhead has been attached to the frame, at last.
I’ve never worked on a moving room before; biggest fear is that the frame may flex, and pop out every bolt!

Also visible, 3/4 size bed (48″ wide).

IMG 3174

Here we can see velcro-based 12v track lighting.

IMG 3173

Using “plumbers tape” (copper strip with holes in it) and old parts bins.

Bulkhead

Not too much to explain here!

Drew outlines and cut with jig-saw without guides, good enough.
Some futzing with thin supports around the base, due to the higher diamond plate strip down the middle.

More bolting to come, and hand-holds to cut out.

IMG 2400

IMG 2408

IMG 2409

Almost done w/demo

If I really understood this process, would have done all the demo before any of the building (just wall sheathing so far, but still).

Sunday: got the last couple of built-in shelves removed.

IMG 2370

Used 4.5″ angle grinder with cutting disk for rivet reduction. A little bit scary with all the sparks and a full tank of gas, oh well. Here: A screw ground down until pliers could torque it.

IMG 2371

Safety first.

IMG 2372

More demolition

Didn’t have much time today. But removed almost the last of the pre-existing shelves. I’ll reuse some of the sheeting for a metal kitchen work surface.

Also got a nice hunk of “Marmoleum” at ReStore down the street. 6’3 x 6’7, $65.

IMG 2365

catchup

Did a few more weekend’s work on the Vehicle.

A twin passes, 2013-04-27
IMG 2304

Last few sections of siding & insulation installed, 2013-04-27
IMG 2305

Pulled off rear-lamp panels. Detritus had actually composted back there, soil…
IMG 2313

And a note to fedex
IMG 2315

A good weekend’s work wraps up.
IMG 2312

New Circuits

A couple of times the battery’s gone flat. It’s easy to leave a light on accidentally, or the brake pedal slightly depressed, &c. Finally wouldn’t charge, replaced it.

This weekend installed a master cutoff switch, so I can leave it disconnected while parked, removing all risk of drain.

IMG 2175

IMG 2174

Also replaced some rivets at the bottom of the cabin door, which eliminated one of the many many sources of noise… more to come.

Vehicle

In addition to an art project, also working on our new Burning Man Vehicle. Acquired in September for ~$8000, a 1994 used Fedex truck. Chevy P30, V8 engine, got about 9 miles to the gallon driving home from Sacramento.

IMG 1347

It’s legal to drive with a regular license, since it has the usual 2 axles, and fewer than, um, 10 passengers? either of which requires a special license. And regular brakes. And stuff. Pretty similar to u-haul you could rent.

IMG 1350

Built-in delivery shelves, soon to be removed. Fortunately, I found a parking spot for $60/month a short bike ride from home. Some interesting characters there, like James with his fire truck.

IMG 1376


IMG 1391IMG 1392IMG 1393IMG 1394IMG 1395


2013-01-04: Removed the shelves! Great bother, with a combination of drilling, angle-grinder cutting disk, hammering, shouting, &c. And careful rigging so as each of the four massive aluminum shelves came loose, it couldn’t fall far.

IMG 1823 IMG 1826 IMG 1832


2013-03-03: Tucked R-13 insulation into the frame and covered the easy parts with plywood. 3/8″ sheathing-grade. Also, these marvelous self-drilling screws. A 1/8″ hole, followed by driving these in, works great. Rather tedious swapping the 1/8 drill bit for the 5/16″ hex driver bit (with magnetic holder), but once the rhythm was got…

IMG 2101

R13 batting is too thick!

IMG 2108

But worked fine by gently tearing off a layer, and using it half thickness. Hot melt glue was used to tack it in place until plywood applied.

IMG 2110 IMG 2111 IMG 2112

A good day’s work.

IMG 2113

The Window Plate

This project has many components!

Plywood and EL wire, however, are very familiar. The window plate, however, is exciting and new. We’re using a Raspberry Pi, which is a $35 linux card with HDMI out. Perfect. Also, a $200 Vizio LED monitor, chosen primarily for its low power consumption (25w).

20130205-205118.jpg

It took a few tries to bring up Pi. After several fails attempts at building a disk image with unix dd and not getting any boot-sign, I found the “Berryboot” loader. You just copy some files onto a plain old FAT32-formatted SD card. It booted right up, and then, via ethernet via “Internet Sharing” via this mac on wi-fi, downloaded a new OS, overwrote the card, and booted right up. Easy, easy.

http://www.berryterminal.com/doku.php/berryboot

20130205-205435.jpg “Wheezy” Debian.

Comes with a command-line media player “OmxPlayer”.
http://www.raspberrypi.org/phpBB3/viewtopic.php?t=12089&p=137169